Thank you for choosing Crisp Video Group for your video needs! Now that your project is complete, we want to make sure you are able to use your videos to their full potential!
Here are several outlets and strategies we highly recommend using.
Upload Your Videos to YouTube
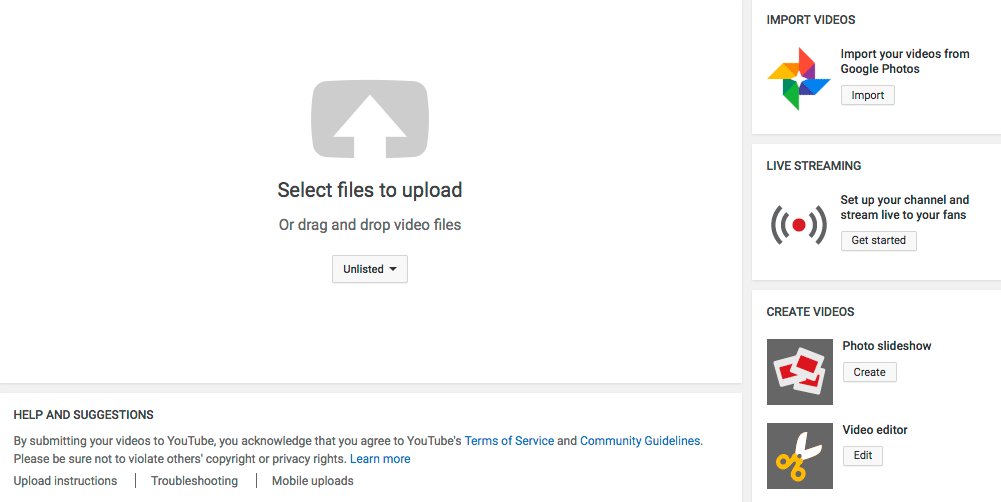
To start, you want to upload your video content to YouTube. YouTube is the second largest search engine behind Google (Google owns YouTube), and uploading and optimizing video content on YouTube is quick and easy. If you do not have a YouTube channel, you will need to create one.
- Sign into or create a Google account and visit YouTube.com. In the top right corner, click on your profile picture and then click on Creator Studio. You will be prompted to create a channel. Click “Agree”, and your channel will be ready!
- From that same page, click “Channel” via the sidebar. Enable the following features: Longer Videos, External Annotations, Custom Thumbnails (this is especially important), and Live Streaming.
- Under “Channel”, click “Advanced”. Make sure your country is correct, and add relevant keywords to your channel.
Now you are ready to upload your videos!
Click the “Upload” button in the top right corner. Click and drag your videos or browse for them to begin uploading. You can optimize your video content while the file is uploading.
Your title is the most important component of video optimization. Make sure to include relevant, targeted keywords that receive a decent amount of search traffic and have (preferably) little competition. You can find this information using Google Keyword Planner (https://adwords.google.com/KeywordPlanner).
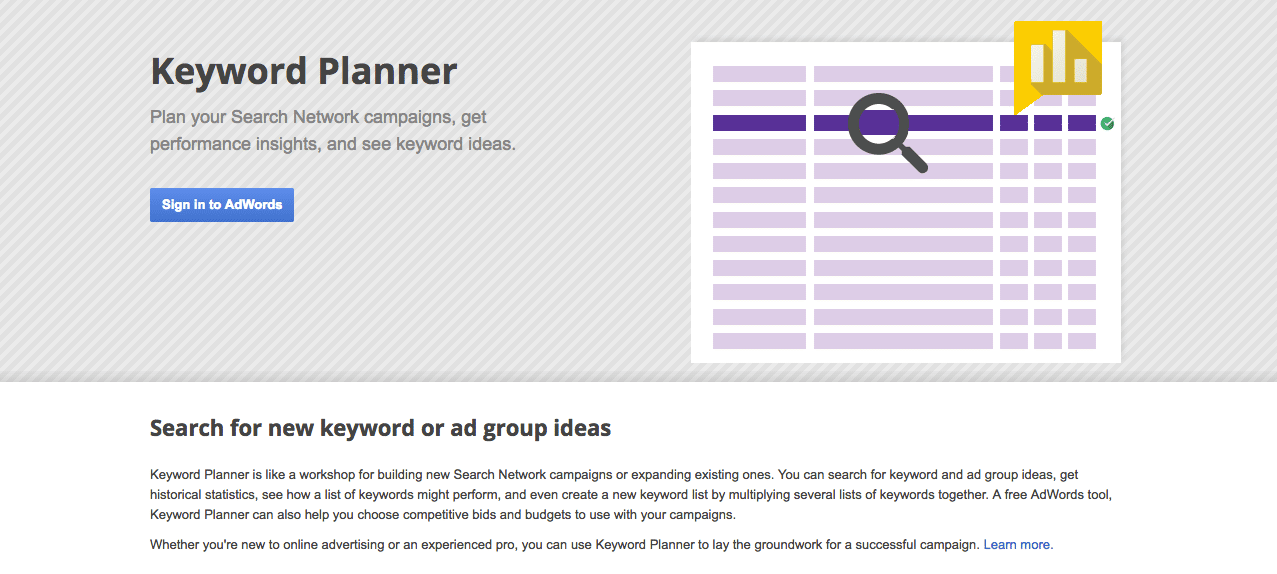
Within the tool, click “Get search volume data and trends”. Enter in relevant keywords to your industry and Google will tell you how many searches those keywords get every month as well as provide recommendations for other relevant keywords to consider. Use one of these suggestions as your target keyword, and include keywords in the title of your videos.
For example, if you are a DUI lawyer in Atlanta, and Google tells you your best keyword is “Atlanta DUI Lawyer,” your video title may look like this: Atlanta DUI Lawyer – Your Firm Name
Include targeted keywords in the beginning of video titles for the best results.
Next up in optimization, you need to write your description. Simply write a few sentences to a paragraph about your videos. Make sure to use your target keyword again, as well as a few variations, but do not keyword stuff!
Write naturally and if you can include keywords, include them. If you find yourself laboring over how to fit more variations of your keyword in, you are probably writing unnaturally. Google will pick up on this and penalize your video.
Finally, add tags to your video content via the “Upload” page. Tags are words and short phrases that provide additional context to your video. Using our Atlanta DUI Lawyer example, you will want to include tags like “Atlanta”, “Lawyer”, “Attorney”, “Atlanta DUI Lawyer”, “Atlanta DUI Attorney”, etc.
After your videos are uploaded, one extra tip to give yourself an edge over your competition is to provide Google with subtitles. Since search engines cannot “watch” video content, subtitles provide an opportunity to include indexable text and keywords to help your content rank higher.
From your video manager, click the drop down next to your videos and select “Subtitles and CC”. Click “Add New Subtitles” and then select “Transcribe” and “Auto-Sync”. Here you can paste in your transcripts. If you don’t have video transcripts you can get your video transcribed through third party services.
Transcription Pro Tip: http://verbalink.com/
Embed Your Videos on Your Website

Now that your videos are uploaded to YouTube, they are ready to add to your website. YouTube embed codes are easy to find and implement, but the default embed codes are not the best way to place your videos on your site.
In order to have your video thumbnails appear in Google’s search results, you need to use Schema Markup. Here is a Schema embed template for you to fill in and copy and paste onto your website:
<div itemprop=”video” itemscope itemtype=”http://schema.org/VideoObject”>
<meta itemprop=”duration” content=”T1M42S” /><br />
<meta itemprop=”embedURL” content=”https://www.youtube.com/watch?v=Jn8zJ01Ywko” /><br />
<iframe width=”100%” height=”350″ src=”https://www.youtube.com/embed/Jn8zJ01Ywko?rel=0″ frameborder=”0″ allowfullscreen></iframe><br />
Title:<span itemprop=”name”><small><em>How to Install a Water Heater</em></small></span><br />
Description:<span itemprop=”description”><small><em>RS Andrews General Manager and Master Plumber Ben Kendrick walks you through how to install a water heater in your home.</small></em></span><br />
<img style=”visibility:hidden;height:0;” itemprop=”thumbnailUrl” src=”http://www.rsandrews.com/wp-content/themes/rsandrews/images/rs-sub-banner.jpg” alt=”thumbnail text” /><br />
<meta itemprop=”uploadDate” content=”2016-03-02“/>
</div>
The sections in red are to be replaced for each individual video:
- For the duration, specify the length of your video in minutes before the letter “M”, and seconds before the letter “S”.
- Next, the string of random letters and numbers corresponds with the URL of your YouTube upload.
- Your title should match the FAQ topic of your YouTube video.
- You can pull from your YouTube video description to fill in the description section here, but keep it concise – no more than 1-2 sentences.
- For the thumbnail, we recommend using screenshots from your video featuring faces or your company’s branding.
- Finally, fill in the date that the video was originally uploaded to YouTube.
Use Schema Markup to embed your videos onto your website’s homepage. Make sure your website is optimized for the same target keywords, and you could have multiple results appearing in Google for the same high-value keyword.
This is significant because search results that include video thumbnails receive four times as many click-throughs as text-only search results.
Post Your Videos Natively to Facebook

Many businesses make the mistake of simply taking their YouTube links and pasting them into Facebook posts. While this isn’t inherently bad, it isn’t the most effective way to use video on Facebook’s platform. Instead, take your video files and upload them directly (i.e. natively) to Facebook.
Natively uploaded videos play automatically when they appear in your followers’ news feeds. This provides a much more engaging experience and drives more views than simply seeing video thumbnails to click on.
Share Your Videos on Twitter
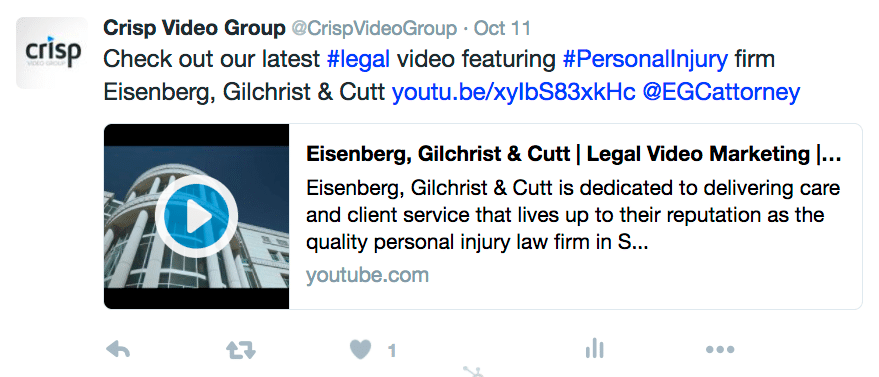
Paste links directly from YouTube into your Twitter account to ensure that video thumbnails are included in each Tweet. Do not use a social media scheduling service (Hubspot, Buffer, MeetEdgar, HootSuite, etc.) or the thumbnails may not display correctly. Also, make sure to use industry-related hashtags!
Share Your Videos on Instagram
Instagram allows both video and image posts. Videos must be less than 60 seconds in length to post on Instagram.
Instagram’s platform is developed for mobile sharing, and currently only accepts videos that are in the codec mobile phones record in (H.264). Your Crisp Videos are already converted to be mobile compliant. To share, simply put your videos on your phone and post away!
Post Your Videos to Your Followers on LinkedIn
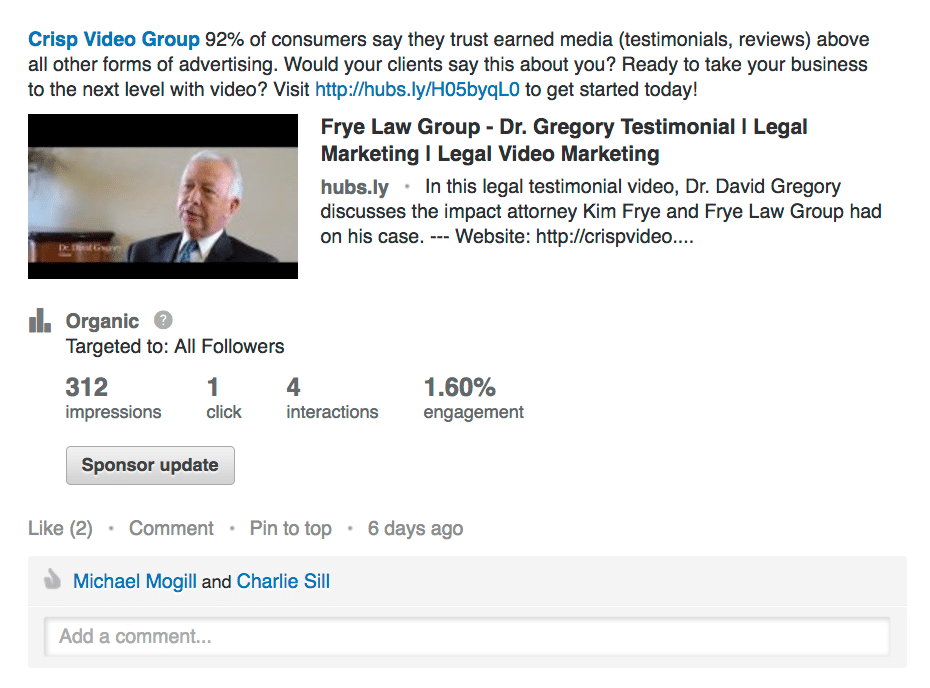
Videos can gain significant traction on LinkedIn, especially if the content provides value to your network. Copy and paste YouTube video URLs when sharing on LinkedIn, and post your video content with written transcriptions for best results.
Put Your Videos in Your Email Signature

Consider adding video thumbnails to your email signature. You can make them links that take readers directly to your video page. Avoid embedding video files directly in emails, as video size can make “heavy” emails that may not get delivered.
Pro Tip: To streamline the email signature process, tools like Xink (xink.io) allow you to simultaneously update signatures across your entire team.
Add Your Videos to Google My Business
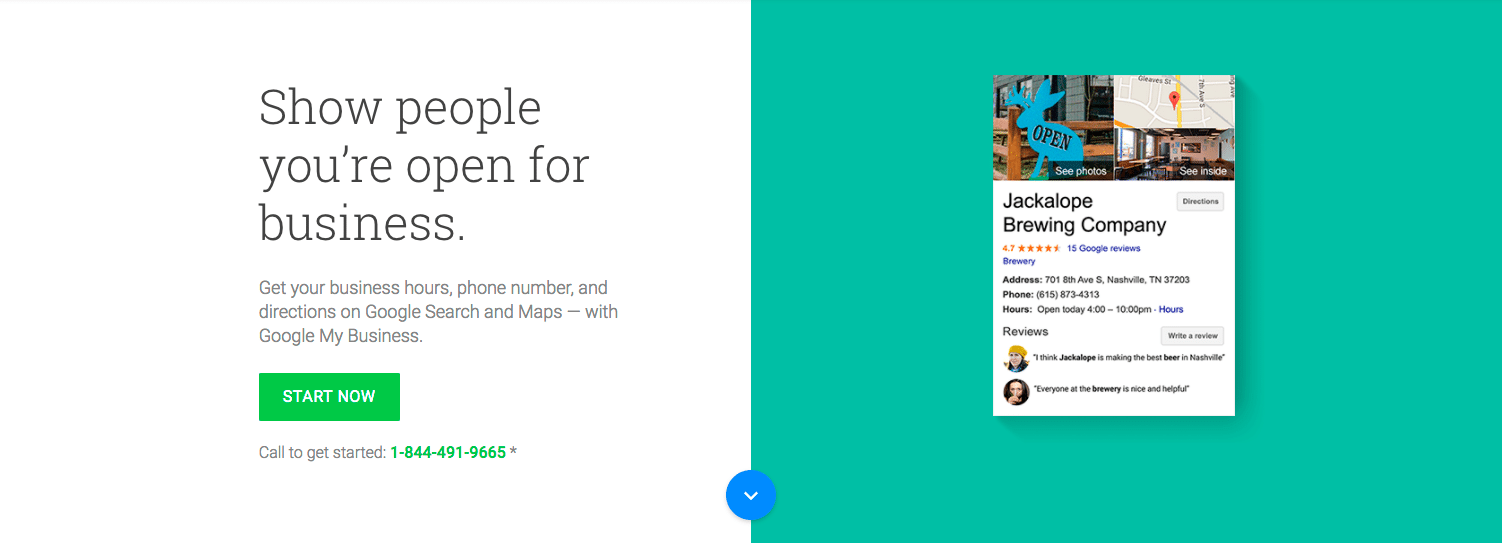
Imagine users are searching locally for a business like yours. If they come across your Google Places page, you can provide the extra nudge they need to contact you with your videos.
To link your YouTube account to your Google Places page, go to http://www.google.ca/business and log in. Under your business page name, select “Manage Your Page”. Scroll through the connected services and find the YouTube section. If you have an associated YouTube account, you will find it there.
If you have any additional questions about implementing and sharing your video content, please don’t hesitate to reach out to us at [email protected].
