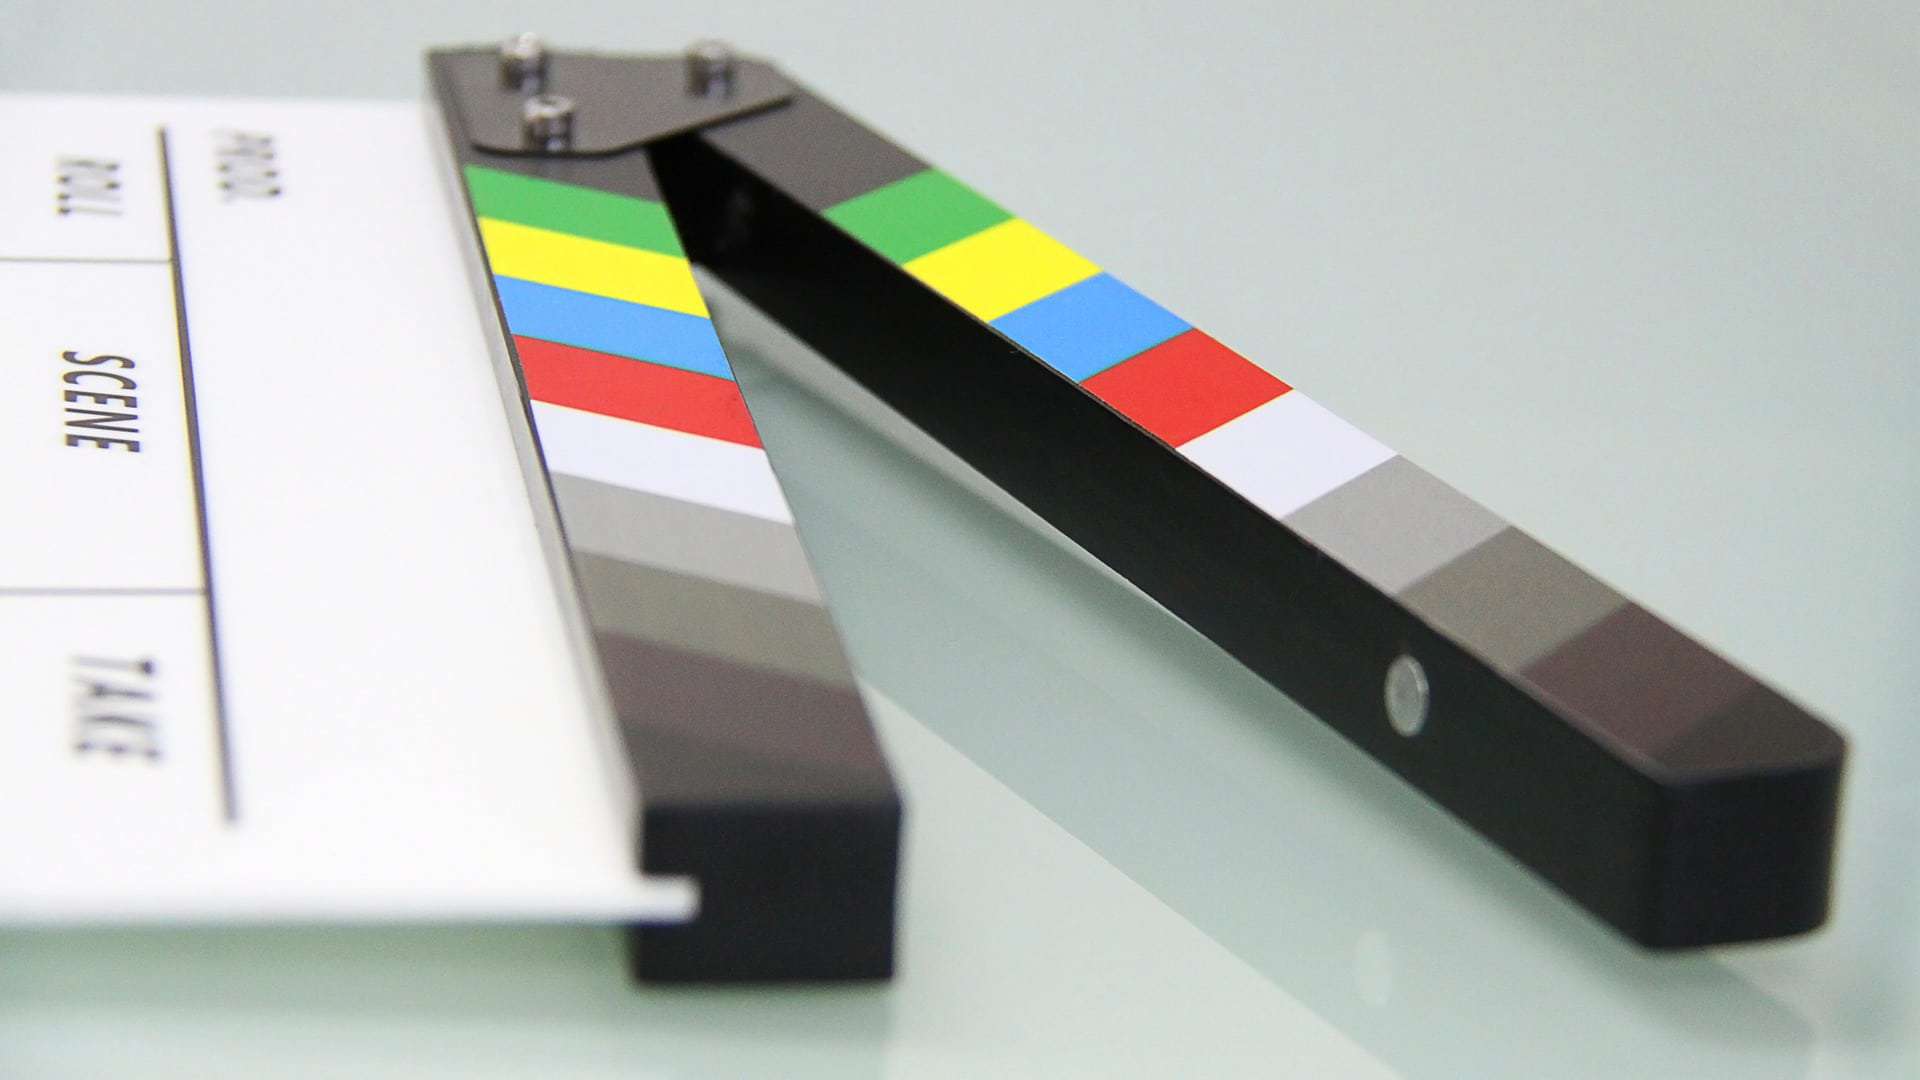
Setting up a studio in your office can be a very useful and convenient digital marketing strategy for your company’s video content. It’s a great way to tie in your company’s branding by showcasing your “headquarters” and giving your audience a more intimate look into your business. Your videos should always strive to come across as professional as possible and leave potential clients impressed by your brand.
Even though it can be tricky to pull off filming amidst the hustle and bustle of company life happening around you, it’s not impossible.
With the following 3 tips, you can turn your office into an awesome studio space for your videos!
Get the Right Lights
Always consider the importance of good lighting and the detrimental effects of bad lighting. Lights can transform a space from dull to vibrant and can fool your audience into thinking that your office is actually a studio. It also makes your subjects look more bright, clear and in focus. There are different lighting techniques that you can use, but the following are recommended as the best types of equipment for office filming:
Ringlight – This type of lighting equipment is the best at making your subjects look luminescent. It provides a uniform light coming straight from the camera’s view, which conveys a very strong presence of your subject. It also ensures that your subject is fully lit with a flattering angelic quality known as the “halo shadow” effect. It’s best used for mid or close-up shots and works great in a tight location, such as an office.

Softbox – Softbox lighting, like the name states, is light coming through a boxed shape. When placed in the background, it will produce controlled light that will draw the viewer’s eye focus towards the subject and away from the edges of the frame. Using softbox lighting is especially effective when working in close quarters, such as an office, because it gives the effect that your subject is wrapped around the light.
Reduce Reverb
Acoustics has to do with the transmission, reception, and clarity of sound within a given space. Most offices have hard surfaces, whether it be walls, desks, floors, etc. Because of this, sound waves are bouncing back and forth between all of these hard surfaces. These unwanted noises can be picked up on a mic during filming. In order to combat these issues, you will need to invest in proper audio equipment such as the following:
Cushioned Wall – Wall cushions are light and soft foam-like material used to absorb sound, especially echoes. By attaching them to hard surfaces such as the walls of a room, they can also absorb any other unwanted background noise. You will definitely hear a difference in your sound quality once the cushions are installed and will notice an improvement in audio when you review your footage.

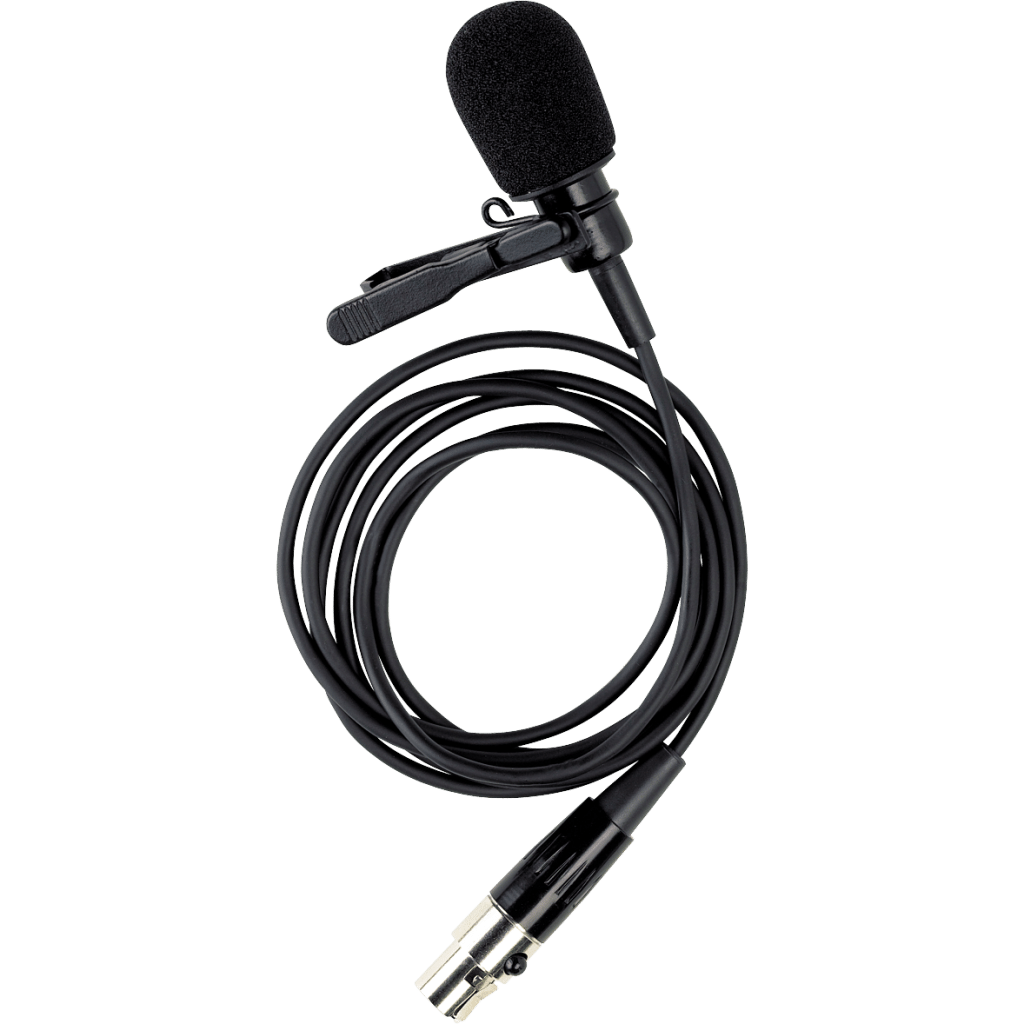
Lavalier Mic – Never use built-in camera microphones. You’ll want to use professional audio equipment that will be able to capture clean audio in your office setting. Lavalier mics are great at not only picking up sound within close range but are also easy to hide as they can be clipped onto a shirt and maneuvered out of sight. Because these mics are within close range to a speaker, they don’t pick up foreign sounds and can give you more clear and crisp audio of the speaker.
Find a Fitting Background
Deciding on what background to use for your video will have a huge impact on their visual quality. You want to consider carefully about what background you use and how it will pair with your lighting (such as the ringlight and softbox lighting). But, what should you choose as a background? There are a couple of things to consider when setting up your office studio:
Branding – No matter what specific background you choose, always consider how it will relate back to your brand. By using an office setting, you can show off awards that you or your company have won, any other various recognition, etc. Take advantage of any attractive signage or relevant products in your office that you would like to showcase.
Color – If you choose to invest in a paper background, you can showcase a color gradient behind your subject. While this approach gives you less flexibility than green screen, the advantage is that it provides a more authentic-looking image. We recommend relatively muted tones instead of oversaturated ones as bright colors tend to be overpowering and distracting.

Using the Office – If you decide to use the interior of your office, take into consideration how natural lighting from windows filters in. It may seem like it won’t affect the lighting of the video, but in post-production, you will encounter such issues as glares and over-exposed light coming through the windows. If having windows in your videos is absolutely necessary for your brand, you can invest in solutions to put on your windows to filter out that light.
Conclusion
Setting up a proficient studio in your cramped office doesn’t have to be a laborious and arduous process. You can still get professional results without having to completely rearrange and undo your office’s setting.
To recap, here are some tips to help you set up an amazing studio in your office:
- Get the Right Lights – Don’t neglect the power that good and bad lighting can have on a video. Invest in equipment that caters to your space, such as a ring light and softbox lighting, to show your subjects in the best possible light.
- Reduce Reverb – Although you may have become used to the echoes and background noises of your office, cheap audio equipment will pick it all up. Reduce the distortion by investing in a cushion wall and close range mics, such as a lavalier mic.
- Find a Fitting Background – Don’t make your video all for naught by having a tacky or dull background. Consider ways you can incorporate your branding in the background or possibly using color gradient backdrop to make your subjects really stand out.
Do you agree with our tips? Leave a comment and let us know!
